Installation of ESPixelStick Firmware.
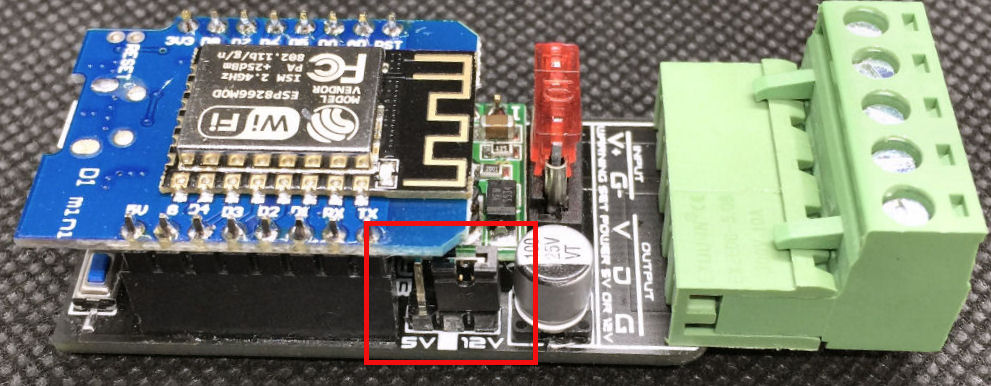
Note: Please insure you have set the power you will be using for your LED's
 If this is the first time you have ever used
a arduino/esp device, your system will require a one
time install of the system driver to communicate between your computer and the
ESPartstick.
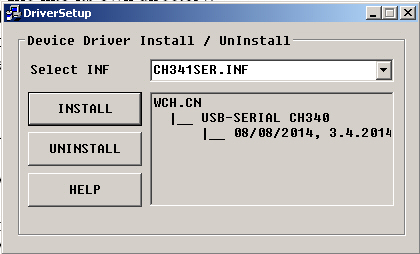
CH340 driver
Extract the zip file and launch the CH341SER.EXE
If this is the first time you have ever used
a arduino/esp device, your system will require a one
time install of the system driver to communicate between your computer and the
ESPartstick.
CH340 driver
Extract the zip file and launch the CH341SER.EXE
Next, install the espixelstick firmware into your new art stick. Download the following ESPixelStick firmware installer: Stable version Feb 4, 2020 EspixelStick Firmware
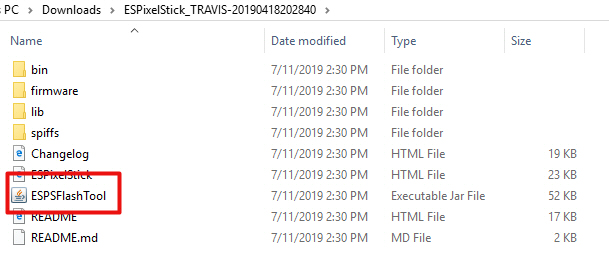
Extract the ESPixelStick_Firmware zip file into its own directory.
NOTE: The compressed file needs to be decompressed. Winrar is a great tool for this. https://rarlab.com/download.htm
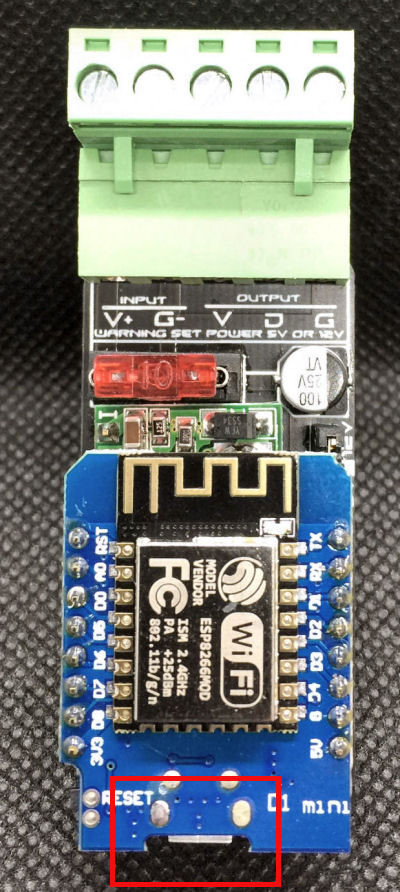
Plug the EspArtStick in from your computer using a standard USB to micro USB cable.
Launch ESPSFlashTool by double-clicking on ESPSFlashTool.jar.
NOTE: if ESPSFlashTool does not launch, you will need the Java runtime Java RunTime
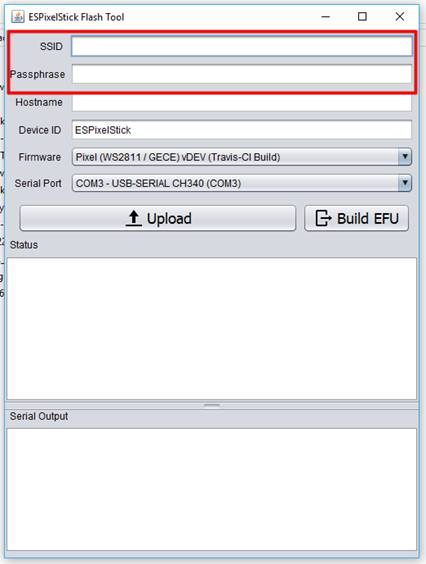
 Enter the SSID and Passphrase for your WiFi access point.
 Device ID is just a plain text identifier to help you tell
your PixelSticks apart. It can also be changed via the web
interface once programmed.
Typically, locations or element names make good ID’s (i.e. – Lower Windows,
Mini
Tree 1, Matrix, etc.)
Select Device Mode to choose if you want this to be a Pixel
or Serial device. Most use Pixels.
Select your
Device ID is just a plain text identifier to help you tell
your PixelSticks apart. It can also be changed via the web
interface once programmed.
Typically, locations or element names make good ID’s (i.e. – Lower Windows,
Mini
Tree 1, Matrix, etc.)
Select Device Mode to choose if you want this to be a Pixel
or Serial device. Most use Pixels.
Select your
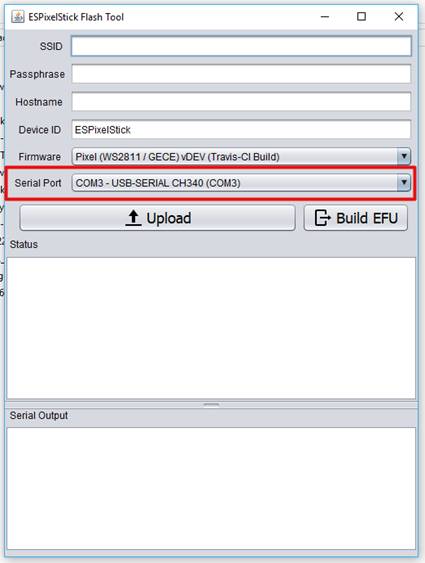 Click Upload to program your ESPixelStick.
Once the upload is complete, the ESPixelStick will relay is configuration status to the Serial Output window.
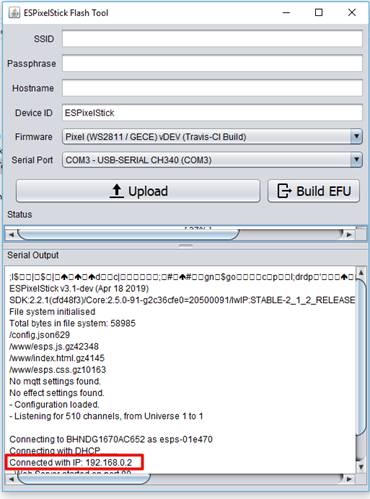
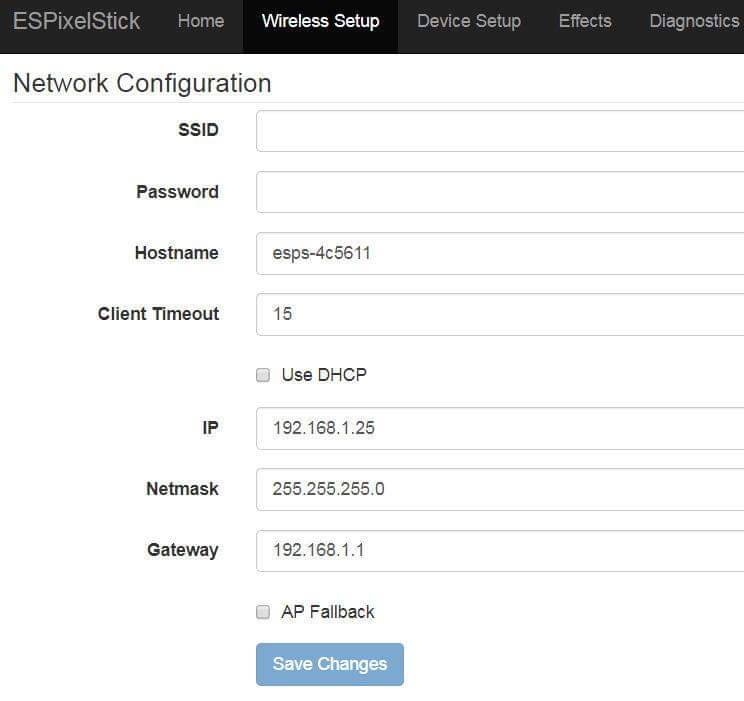
You can now connect to the ESPArtStick with your web browser for further configuration.
Go to the Wireless tab and turn off DHCP to set your own IP address.
Pixel Count Set the number of pixels used on your EspArtStick
Channels Change the channel to 510. 512 will result in color shifts
Brightness: Brightness Levels are 1 = 100% and 0.5 is 50%
Color Order WS2811 (Bullet Nodes) are RGB and WS2812 (neopixel or strips) GRB
Zip Zag Used for when you create a matrix and the number of zip zgas used
